Adding and Removing Students
Adding New Students
You can choose to either add students one at a time, or to upload a number of students at the same time.
Adding Individual Students
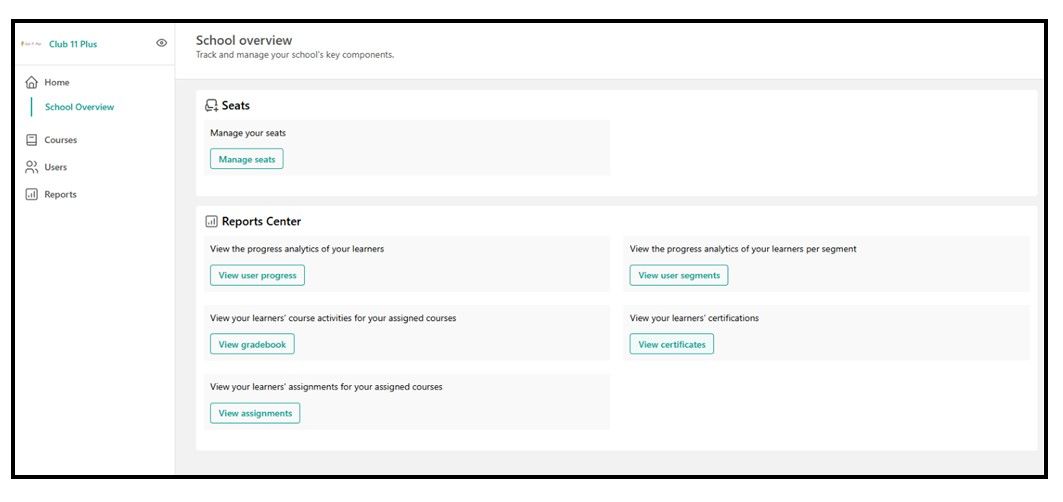
To add an individual student, from your School Overview page, select Manage Seats.
Adding Individual Students
To add an individual student, from your School Overview page, select Manage Seats.
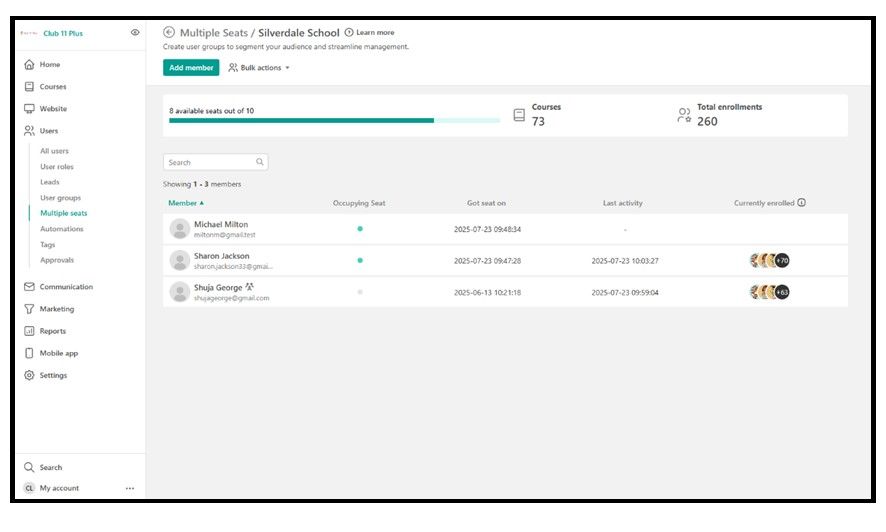
From your Multiple Seats page, select Add Member.

In the USERNAME box, enter the full name of the student's parent, NOT the name of the student. This should be the name of the parent who will automatically receive a Quiz Results email each time that student completes a quiz (unless they opt out of this).
In the EMAIL box, enter the parent’s email address. This is the email address to which the student's Quiz Results emails will be sent.
In the YOUR CHILD'S FIRST NAME box, enter the student's first name.
Tick the Add user to seat box if you want the student to be able to access your school's 11 Plus Hub. If you don't tick the Add user to seat box, the student will be listed as a registered student within your school, but will not have access to any of your school's learning materials. More information on managing seats is given here.
Leave the Select a course box empty. All the students in your school will automatically have access to all the learning materials in your school's Learning Space.
Select Add user to add the student to your school.
Adding Multiple Students
Adding Multiple Students
If you wish to add multiple students at the same time, on your Multiple Seats page, hover your cursor over Bulk Actions. This gives you the options to choose either Add Members, or Add & Enrol Members.
The Add Members option allows you to add users such that they are registered within your school, but are not yet added to a seat. This means that they do not yet have access to your school's learning materials.
The Add & Enrol Members option allows you to add users such that they are registered with your school and added to a seat. This means that they do have access to your school's learning materials.
At this point, you should click on the link to download the Excel template, and fill it in with the details of all the students you would like to add. You can then upload your completed spreadsheet, and select Add Users, or Add & Enrol Users, as required.
Student Passwords
As soon as a student has been registered with your school, the parent listed in their student record will automatically receive an email from Club 11 Plus, informing them that their child has been registered, and letting them know how to sign in and create their own password. Details on how to change student passwords are given here.
Removing Students
To remove a student from a seat:
From your School Overview page, select Manage Seats.
From the list of students, find the student you wish to remove, and hover your cursor over their name.
Click the 3 dots to the left of their name.
Select Remove from seat.